


A handstand may look like a party trick, but underneath it’s a serious strength and stability exercise that trains your shoulders, core and wrists all at once. The mistake most beginners make is trying to kick up into a freestanding hold before they have built the strength to control it. A smarter handstand exercise progression builds that control first, so the actual handstand becomes a natural next step rather than a leap of faith.
What Makes a Handstand Exercise So Demanding?
Holding your body upside down and balanced on your hands requires a lot of your shoulders, which have to stabilize far more load than they typically handle in daily life, as well as your core, which has to keep your whole body rigid so you don’t fold at the hips or arch through your lower back. Your wrists also take on weight-bearing work that they rarely experience otherwise. That combination is exactly why building up gradually matters more here than in most other bodyweight movements.
Where Should a Beginner Actually Start?
Start against a wall, not in open space. A wall handstand, walking your feet up a wall while your hands stay planted on the floor, lets you get used to positioning yourself while building shoulder endurance without worrying about balance or falling. Once that feels stable, a chest-to-wall handstand, facing the wall instead of facing away from it, forces better alignment and is generally the more useful progression before attempting a freestanding hold.
It helps to hold each progression for a time rather than rushing to the next one. A solid benchmark is being able to hold a wall handstand comfortably for thirty to sixty seconds with good form before moving to the chest-to-wall version, and repeating that same benchmark again before testing anything freestanding. Skipping ahead because a progression feels easy after only a session or two usually means the strength hasn’t actually caught up yet.
How Important Is Wrist Preparation?
Very. Wrists are not built for weight-bearing work the way shoulders and hips are, and jumping straight into handstand practice without preparing them is one of the most common ways people end up sidelined with wrist pain. Simple prep work, wrist circles, gentle stretches into extension and flexion, and short holds in a supported plank position, goes a long way toward avoiding this entirely. Skipping this step because it feels unnecessary is a common and avoidable mistake. A couple of minutes dedicated to wrist prep before every session is enough for most people. Adding it into the first few minutes of a warm-up, alongside general shoulder and hip mobility work, keeps it consistent without adding much to the overall length of a session.
What Core Work Actually Transfers to a Handstand?
A hollow body hold, which is where you lie on your back with your lower back pressed into the floor and your arms and legs slightly raised, closely mimics the shape your body needs to maintain upside down. Practicing this on the ground, where the consequences of losing form are zero, builds the same rigidity you eventually need to hold while inverted. Most coaches consider it one of the highest-value exercises for anyone working toward a handstand. Plank variations help too, particularly ones that challenge you to resist rotation or dropping through the hips. A strong plank builds the same full-body tension you need upside down, just in a much more forgiving position where a lapse in form means nothing worse than a few seconds of poor posture rather than a fall.
How Often Should You Practice Handstand Exercise Work?
Several short sessions a week, five to ten minutes of focused practice, tend to build the skill faster than one long session, because balance and body awareness improve through repeated exposure rather than sheer volume in a single sitting. Fresh attempts, rather than fatigued ones at the end of a long workout, also tend to produce better quality practice.
What Are the Most Common Mistakes People Make?
Rushing past the wall progressions is the biggest one. Kicking up into open space before you have real shoulder and core control usually leads to falling out of the position repeatedly, and thus builds bad habits, and more importantly, how wrist and shoulder injuries happen. Arching the lower back to compensate for a weak core is another common issue, one that a coach watching in person can be able to spot and correct faster than you can feel it yourself.
A third mistake is practicing exclusively on hard, unforgiving surfaces without a mat or crash pad nearby, especially when testing freestanding attempts. Falling out of a handstand is a normal part of learning the skill, and having a soft landing zone removes a lot of the hesitation that otherwise causes people to bail out of the position too early, before they have really tested their balance.
When Should You Attempt a Freestanding Handstand?
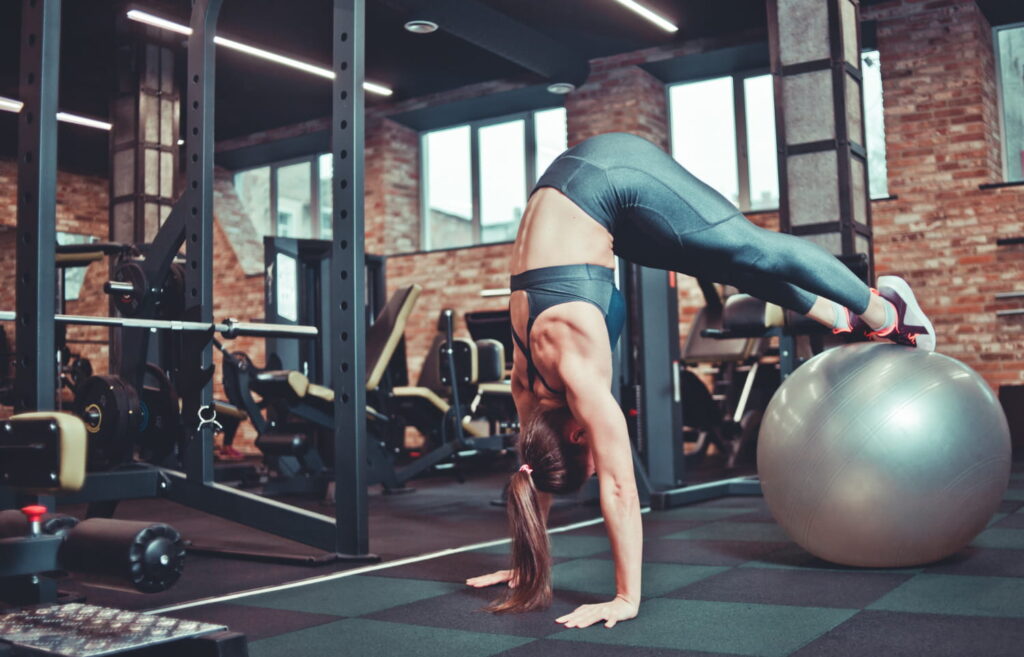
Once you can hold a solid chest-to-wall handstand for a meaningful amount of time with good form, not shaking or losing alignment, you are generally ready to start testing short freestanding attempts with a coach or spotter nearby. There is no fixed timeline for this. Some people get there in weeks, others take months. A useful way to test readiness is to try a handstand kick-up against a wall but stop just short of touching it, holding the position balanced on your own for a second or two before catching the wall again. Being able to do this consistently is usually a good sign that your balance and shoulder strength are close to ready for real freestanding attempts.
Getting the fundamentals right from the start saves you from bad habits that are much harder to unlearn later. At IRONSKY, we are a licensed CrossFit affiliate in Larnaca where our coaches build gymnastics and handstand progressions into programming for exactly this reason. Come try a class at IRONSKY and feel free to ask a coach to assess where you are in your progression.